Preserving Your Legacy: A Collector's Approach to Cleaning Military Patches

Is the accumulated grime on your cherished military patch diminishing its story?
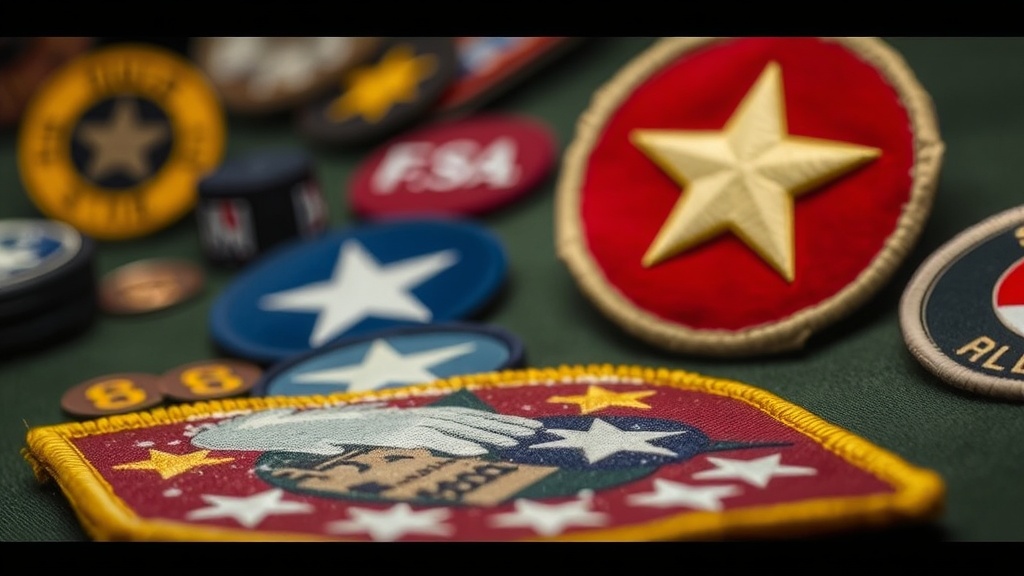
For many collectors, military patches are more than just embroidered fabric or molded PVC; they're tangible pieces of history, emblems of sacrifice, and symbols of service. But over time, exposure to dust, environmental pollutants, or even improper handling can leave these artifacts looking less than their best. The thought of cleaning them, however, often brings apprehension—and rightly so. An uninformed cleaning attempt can cause irreparable damage, stripping away not just dirt, but also value and historical integrity. This guide isn't about harsh chemicals or aggressive scrubbing; it's about thoughtful, methodical preservation. We'll explore safe, effective methods for rejuvenating your collection, ensuring these invaluable pieces continue to tell their tales for generations to come. Your goal, and mine, is always to stabilize and preserve, never to erase the authentic patina that speaks of age and experience.
What Preparations Should You Make Before Cleaning Any Patch?
Before you even consider touching a cleaning solution to a military patch, meticulous preparation is non-negotiable. This isn't a task to rush through—it's a deliberate act of conservation. The first, and arguably most important, step is to accurately identify the patch's materials and construction. Is it finely embroidered cotton or silk? A woven bullion piece with metallic threads? A modern PVC or rubber emblem? Perhaps it's a leather patch, or one with attached metal insignia. Each material demands a different approach, and misidentification is a fast track to disaster.
Next, perform a thorough visual assessment of the patch's current condition. Look for fraying threads, loose embroidery, detached backing material, or any signs of previous repairs. Note the type of grime: is it surface dust, embedded dirt, grease, or something more obscure like mold or insect residue? Understanding the antagonist helps you choose the right battle plan. Any pre-existing damage must be accounted for; a fragile patch might not withstand even the gentlest cleaning method.
Always, and I mean *always*, conduct a spot test. Choose the most inconspicuous area of the patch—the very edge of the backing, a hidden corner of a border thread—and apply your intended cleaning agent. Observe for color bleed, fiber distortion, or any adverse reactions for several minutes. If there's any doubt, err on the side of caution and reconsider your approach, or better yet, seek professional advice.
Gather your tools before you begin. You'll want a clean, well-lit workspace free from distractions. Essential items often include soft-bristle brushes (a clean, soft toothbrush or artist's brush works well), distilled water (to avoid mineral deposits from tap water), pH-neutral soap (like a pure glycerin soap or conservation-grade textile cleaner), lint-free cloths, cotton swabs, and a clean, absorbent towel. For photographic documentation—which I highly recommend—have your camera ready to capture 'before' images, and plan to take 'after' shots as well. This record is invaluable for tracking progress and for insurance purposes.
How Do Cleaning Methods Differ for Various Patch Types?
The variety in military patch construction means a one-size-fits-all cleaning strategy simply won't work. Each material requires a nuanced touch.
Embroidered and Woven Patches
These are perhaps the most common and also among the most delicate. For routine maintenance, gentle dusting is key. A soft-bristle brush, or even a soft artist's brush, can dislodge superficial dust and fibers without abrading the threads. Always brush lightly, in the direction of the stitching, to avoid snagging.
For more stubborn, localized dirt, spot cleaning is often the best course. Dampen a cotton swab with distilled water, then lightly dab (do not rub) the soiled area. If water alone isn't enough, add a tiny amount of pH-neutral soap to the distilled water, mix it thoroughly, and then use a fresh, barely-damp cotton swab. Work slowly, changing swabs frequently to avoid redistributing dirt. Follow with swabs dampened only with distilled water to rinse any soap residue. The goal is minimal moisture contact.
Full immersion cleaning for embroidered patches is a last resort, reserved for severely soiled pieces where other methods have failed and the patch material is known to be stable. If you must proceed, use a basin of cool distilled water with a minuscule amount of pH-neutral soap. Gently agitate the water, *not* the patch. Allow it to soak for a very short period—minutes, not hours. Rinse thoroughly but gently under a slow stream of distilled water until all soap is gone. Support the patch from underneath; never let it hang or stretch while wet. Once rinsed, press it gently between clean, absorbent towels to remove excess water, then lay it flat on a clean, dry surface or archival drying screen to air dry completely. Avoid direct heat or sunlight. For an authoritative resource on textile care, including specific handling techniques, you might consult guides from institutions like the